As a portrait photographer, you understand when and why to adjust your subjects’ poses. However, the question becomes: is a photograph more effective when your subjects are in motion, standing, lying down, or seated on a stool? My answer, which you might share, is that it depends, and here’s why.
First, we should reflect on why they hired us and try to understand the emotions they want to convey. While wardrobe, color, and lighting can convey a particular feeling, posing can undoubtedly add or detract from the emotion you are trying to communicate with the image.

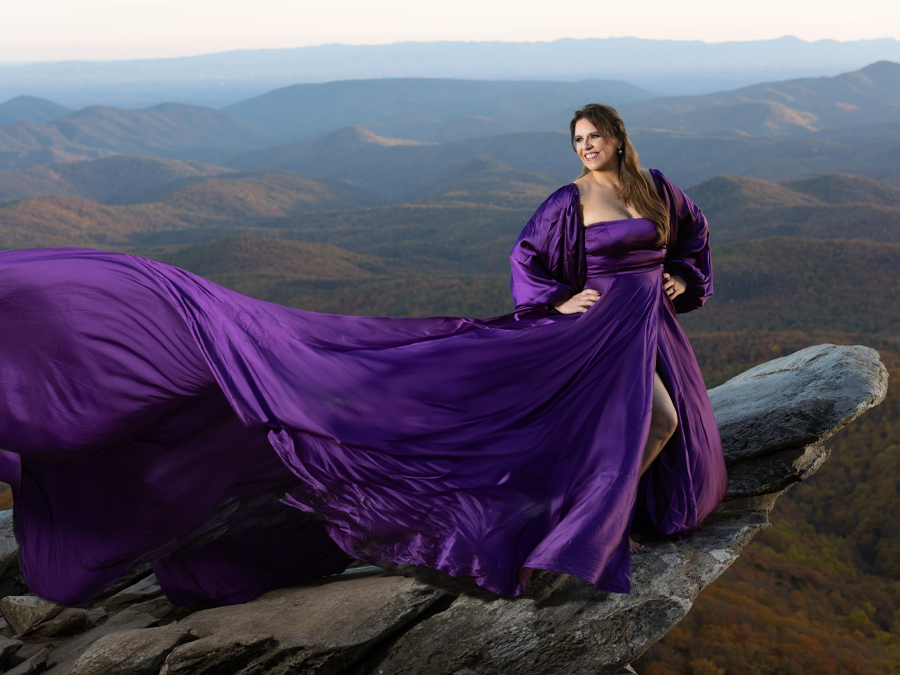
Graceful Movements
Graceful movements can be an effective way to enhance your photography. Whether you’re capturing a business headshot, a happily engaged couple, or a family portrait, posing your subjects with a slight bend in their limbs introduces grace and a natural flow to their bodies. This brings to mind an interesting question: Can a bodybuilder be graceful? Arnold Schwarzenegger was among the first male athletes to train with a ballet instructor. Ballet enhanced his posing routine on stage and contributed to his performance in Annie Leibovitz’s photographs, which are masterful works of art. Aesthetically pleasing lines create a more inviting portrayal of your subject, enhancing the viewer’s connection. Flow will continue off the page if joints are not cropped.
The Jump Shot
Maybe your subject isn’t a power forward on a basketball team, but most of your subjects can jump or leap forward. Getting your senior girl to try a jump shot while wearing heels might not be the best choice, but these shots will add energy and make their wardrobe come alive. Midway through the shoot, some subjects get bored or have less energy, which might be a perfect time to get them jumping around. Usually, I demonstrate it for them by taking a small leap at a forty-five-degree angle towards them, but my agility is fleeting at 6’4” and middle-aged. Nevertheless, I show my subjects how I want them to jump, communicating the idea.
If you’re in the studio, I recommend placing two pieces of tape on the floor to mark the starting and ending positions. You can adjust these later if needed. Next, set your correct exposure and lighting. Give your subjects a countdown, and make sure everyone has fun during the process.
I suggest changing only one or two elements for each shot. For instance, you could ask them to step their left leg further forward or step their left leg forward while lowering their right shoulder. Prompting them to change only one or two things makes it easier for them to remember, and it helps you identify what’s working effectively.
Need a little smoke? Rent or buy a smoke machine. I recommend buying one because it will save you money. Backlighting smoke works better than frontal lighting. Light modifiers like snoots will help your directional light. Capturing the wind in their hair with a strobe of fast shutter speed showcases their freedom of expression. These visually appealing and dynamic poses create moments of blissful spontaneity. Mastering jump shots takes time, but incorporating them into your repertoire of “poses” will increase the liveliness of your clients’ wall art or create a unique spread within an Integrity Albums.
¾ Pose
A ¾ pose for your subject might be their most flattering angle. Is their body ¾ and face ¾, or is one frontal and the other ¾? It develops diagonals, which we all know are helpful compositional elements. Positioning slightly off-center also might improve composition. For a refresher on the subject, see Creating Captivating Composition.
This classic pose creates depth and highlights contours in a subject’s figure. Combined with dramatic lighting, it can make the figure appear slimmer than a frontal pose. One common issue with this pose is the treatment of shadows. If you’re using directional light, ensure that the shadow on the nose is pointed down or across, but not up, as the sun—even at its lowest point—does not shine upward. Techniques like split lighting or Rembrandt lighting work particularly well with this pose. Whether for candid snapshots or posed portraits, using a ¾ positioning is an essential technique in portraiture.

Hands On The Hips And Face
A frontal posture with hands on hips creates a structured look. Hands on the hips conveys assertiveness, presence, and personality to the image. Whether you are a senior or a sports photographer, this pose communicates strength and self-confidence.
When we place our hands on our faces, intimate portraits emerge. This pose frames the face and draws attention to the eyes. Hands touching the face add layers of thoughtfulness but can also introduce an element of intrigue or mystery. Moreover, this technique works well in artistic shots. Hands accentuate body language subtleties and bring out facial expressions.
Folded Arms
This pose exudes confidence and power. It is assertive and conveys a sense of certainty, but this assertiveness can sometimes come across as less inviting or even aggressive. This pose’s professional and polished appearance helps establish dominance over your surroundings, especially when captured with a knee-level or ground-level shot. Consider using a 35mm lens or wider if you’re open to some distortion.
For a head-and-shoulders portrait, you can use this arm placement to manipulate the shoulders—raising or dropping one as needed—by cropping the arms out of the frame. However, remember that the folded-arm pose can be interpreted as a sign of boredom, so you might want to modify it by folding just one arm or adjusting the hand position to convey the desired emotion.
Don’t Say “Cheese”
In the US, we say “cheese”, in Spain, it’s “patata” (potato), in France, it’s “ouistiti” (marmoset), and in Ecuador, it’s “Say Whiskey”, but why?
If you’re interested in how smiling in photographs became a thing, check out Christina Kotchemidova’s essay, Why We Say “Cheese”: Producing the Smile in Snapshot Photography. Cheese, patata, ouistiti, and Whiskey turn up the corners of our mouths and lift our cheeks, but unfortunately, they won’t produce authentic smiles and laughter. Honestly, I prefer genuine conversations or sharing jokes over artificial emotions any day. When we laugh, our eyes often appear less lively than when we say “cheese” for a photo. Authenticity enhances your image and makes your subject seem more convincing. If the conversational approach isn’t practical and your jokes are as corny as mine, try encouraging them to visualize something or to share a story about themselves. I typically get them talking, take a few shots, and then guide their gaze, shoulders, hips, and feet into the right positions. Honestly, some absurdity behind the camera works for me as long as it fits the emotion I want for the subjects. It’s also a good icebreaker; anything is better than just saying “cheese.”

Whether your subject is looking at you or away from the camera, trying to capture their best side from your angle is tricky. The previous blog post, “Redefining Versatility In Your Portraits“, mentions lighting and perspectives, which might complement this article. To dive deeper into posing, check out the replay of our McKenna Live Webinar: “Mastering The Art Of Posing“.
The key takeaway is that consistent practice paves the path to mastery. Even after dedicating 10,000 hours to your craft, there’s always the potential for growth and excellence. Embrace the journey, and let your dedication shine!
This blog was written by Eric Garcia-March, our in-house Photography Education Specialist and host of our McKenna Live webinars. Prior to McKenna, Eric was a commercial photographer for over 15 years and taught classes at the Image Processing and Multimedia Technology Center in Spain and post-production classes at the Fashion Institute of Technology in New York City. Schedule a free one-on-one coaching session with Eric today.
In order, images by Cathy Anderson Photography, Chugach Peaks Photography, Joshua Hanna Photography, and Cathy Anderson Photography